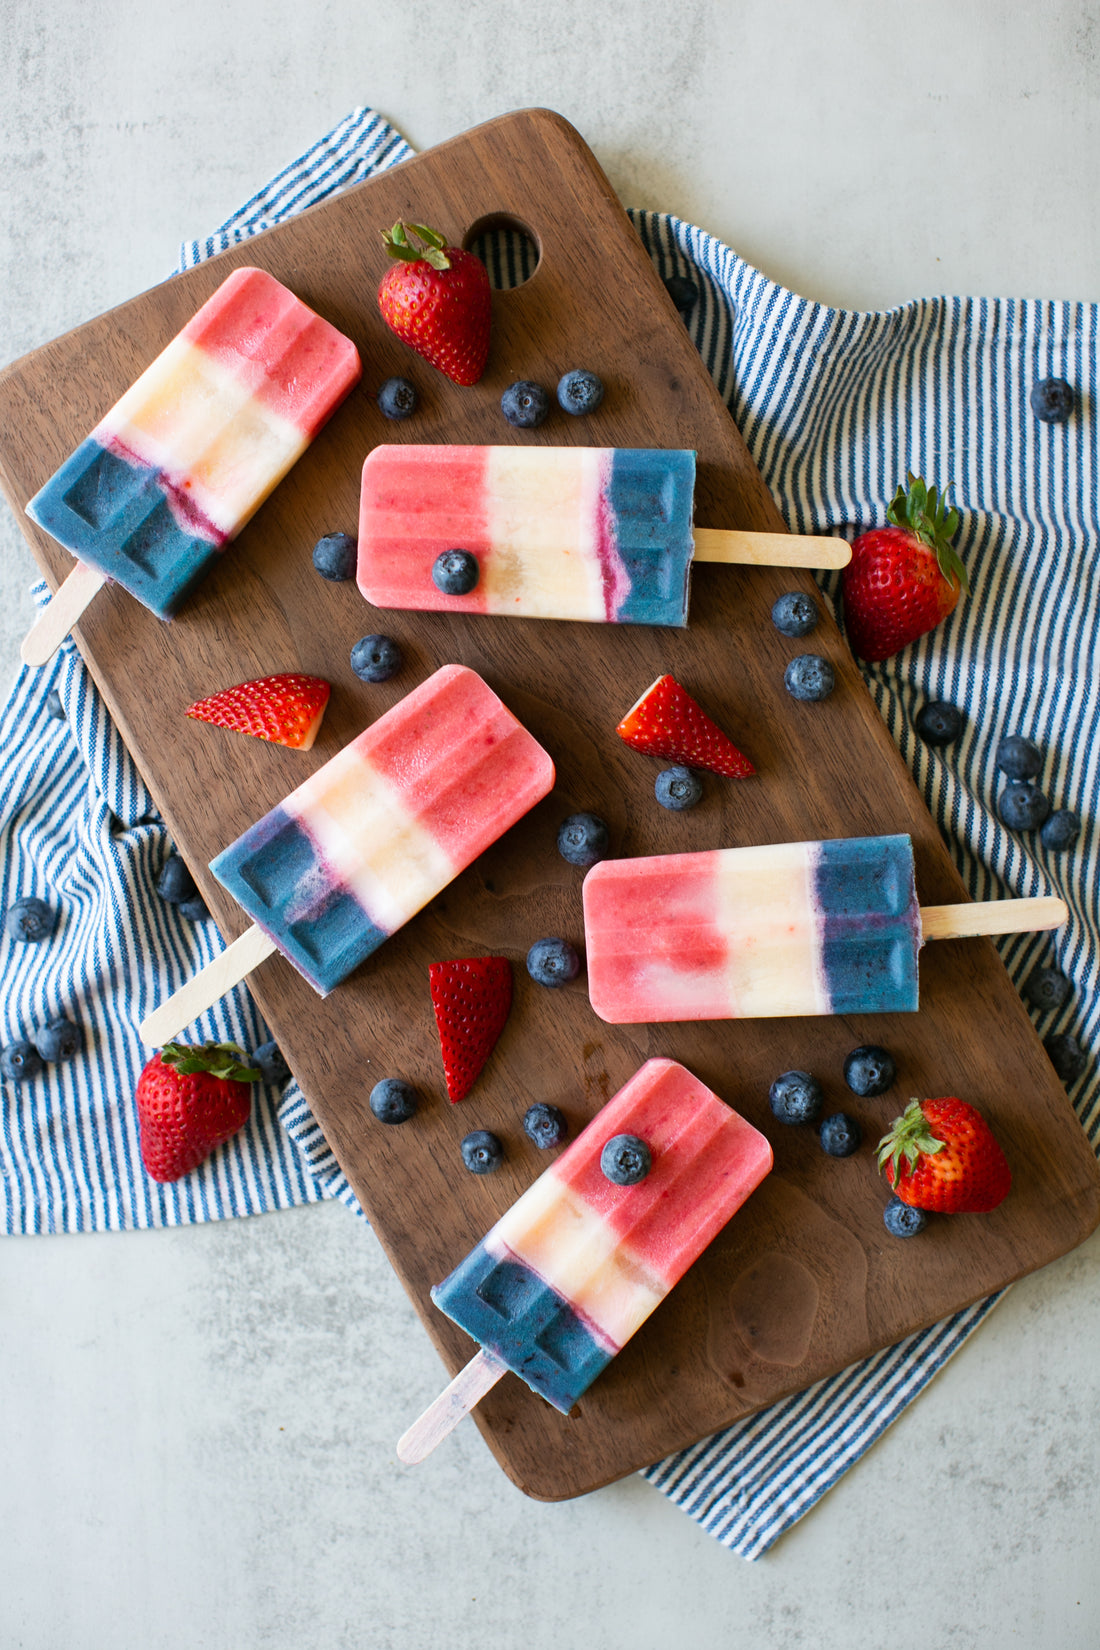
I don't know about you, but on hot, toasty days, sometimes only a nice cold, fruity popsicle will quench my craving for something chilly. I also love the 4th of July (as I discussed in our 4th of July outfit blog post), so I combined my love for the two and voila - the perfect summer popsicle.
What's the thing I love the most about these? They incorporate real fruit, are creamy instead of icy, and they are so easy to make. The only ingredients in these pops are strawberries, blueberries, lemonade, and frozen yogurt (and a couple drops of blue food coloring which is optional!). That's it. I even used lite lemonade so there was even less sugar in them. I snagged this popsicle mold from Amazon that makes 10 popsicles and comes with popsicle sticks and a funnel (which made for easy pouring!).
I love that each layer has a distinct flavor. You can definitely taste the strawberry and blueberry in those two layers and the lemonade layer in the middle is a great acidic yet sweet break between the two sweet and fruity layers.
My kiddos loved these and I hope your family does too! Whether you make it for the 4th of July or just because, it's sure to be a hit!


CREAMY & FRUITY LEMONADE POPSICLES
INGREDIENTS
RED LAYER
- 1/3 cup lemonade
- 1 cup sliced strawberries
- 1/3 cup vanilla frozen yogurt or ice cream
WHITE LAYER
- 2/3 cup lemonade
- 1/3 cup vanilla frozen yogurt or ice cream
BLUE LAYER
- 1/3 cup lemonade
- 1/3 cup vanilla frozen yogurt or ice cream
- 1/3 cup blueberries
- blue food coloring
DIRECTIONS
-
In a blender, combine all the ingredients for the red layer. Blend until very well combined. Divide evenly between 10 popsicle molds (I used these from Amazon!). Freeze for at least 1 hour.
-
In a blender, combine ingredients for white layer until combined and smooth. Divide evenly over the frozen red layer. Add the popsicle sticks. Freeze for another hour.
-
In a blender, combine all the ingredients for the blue layer except the food coloring. Blend until well combined. Add desired amount of blue food coloring (I just used a couple of drop!) and blend again until uniform in color. Divide evenly over the white layer, filling to the top of the mold. Freeze for at least 4 hours and enjoy!

