
Anyone else love creating with their hands? I have ever since I was a little girl and my favorite kind of work is still anything I get to put together with my own two hands.
I have always wanted to do a fun installation in our house for Fall. I love the idea of creating something that makes a bold statement yet is different than a wreath. Most of the decor already in our living room (you can see how the fireplace previously looked here!) is pretty traditional Fall colors, so I knew this would be too.
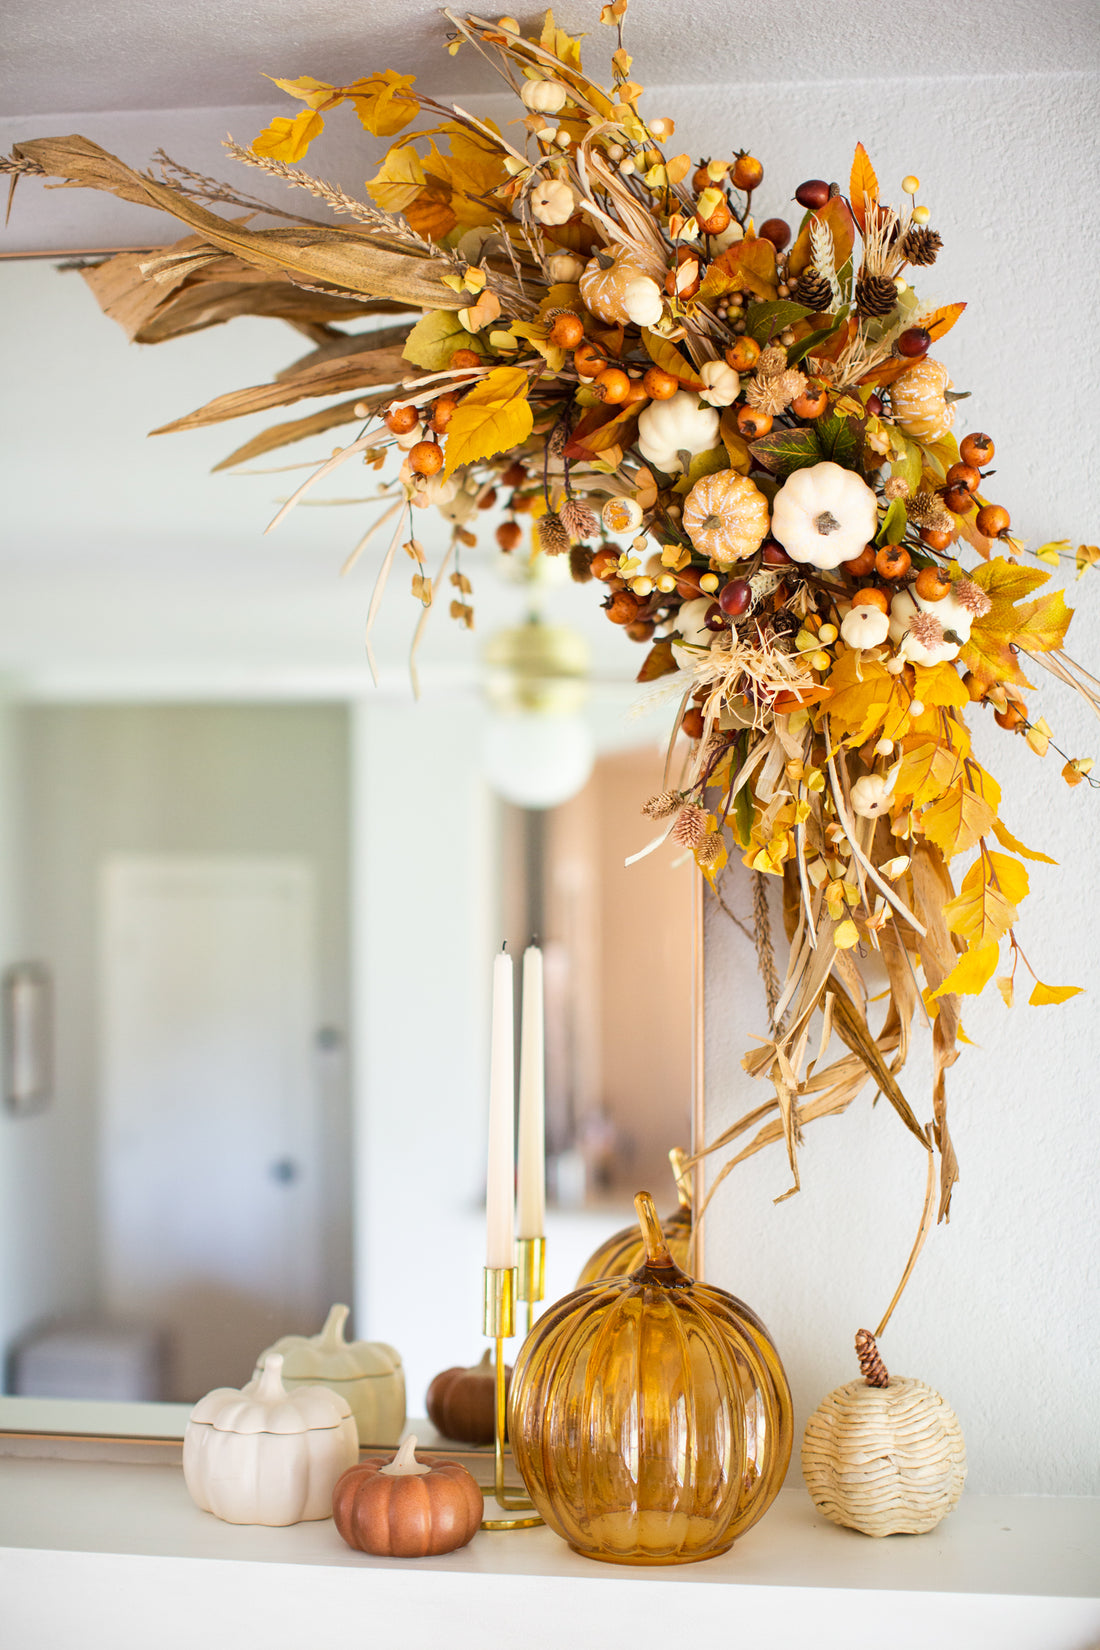
I had already purchased some dried cornstalk that I thought would give a cool wispy look to the installation. From there, I gathered all kinds of faux florals in different colors that would match our living room and textures that I thought would add some great interest.
Honestly, I think the trickiest part of this whole thing is getting the base installed. I used chicken wire and molded it into almost a 3D rectangle shape so I could put florals in at every angle. Then I used command hooks to secure it to the wall (I really wanted to make sure it wouldn't damage the walls!).
From here, I started with the cornstalk and started poking it through the chicken wire. I honestly did this totally off the cuff. I really had no plan other than the cornstalk being on the outside so that most of it would be covered (but still show enough to add that cool texture) and it wouldn't be too overbearing.
I then continued to the other foliage I had and ended with the berry looking pieces and the pumpkins. I would step back every so often to see where holes needed to be filled. As far as everything being secured in, the florals I chose had wire in the stems, so it made it easy to twist around other stems or chicken wire to secure. The more stems that are poked through, the more stems there are to catch each other and stay secure.
I made this timelapse video so you can see a bit of the process!

