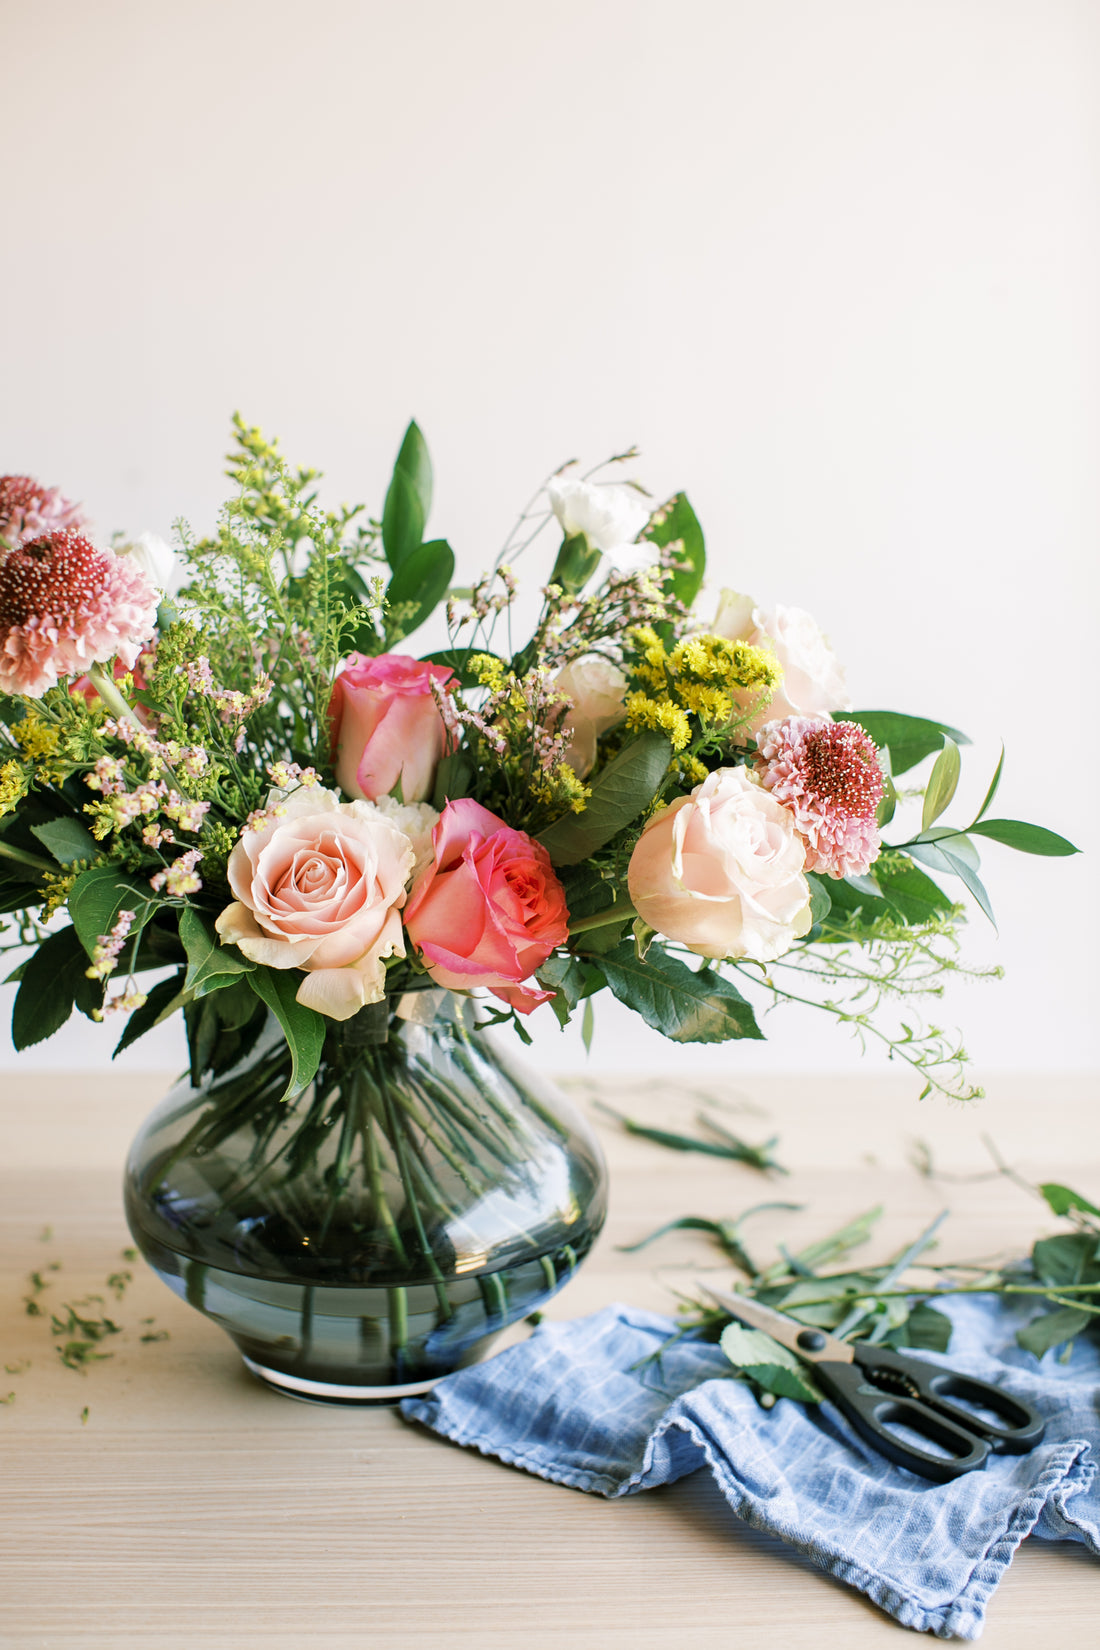
I don't know about y'all, but there is something about fresh flowers that not only lifts my spirits, but also makes my house feel like it suddenly belongs in a magazine. While I have always been a sucker for fresh flowers, I have not always been great at selecting flowers that go well together - or even knowing where to begin.
A few years back, I took a class on how to make a floral arrangement and the florist mentioned taking everything we learned and using it to deconstruct a store bought bouquet and rearrange it. Ever since that class, that's my go-to! I go to the store and select one of their pre-made bouquets that fits the style I'm wanting. I also usually buy a couple of things to fill it in a bit like an extra bundle of greenery or some white flowers. It really doesn't make for a very cohesive, custom looking arrangement when it's all done. And psst...it also makes a great Mother's Day gift!!
So today I'm giving you all the steps to make your very own custom-looking arrangement out of a store bought bouquet!
First, here is what I bought and the supplies I used:
- pre-made bouquet from HEB - it had some greenery, roses, some fun textured purple flowers I don't know the name of (hah!), some yellow greenery pieces
- One small bunch of greenery with some little pink flowers on the ends
- One small bunch of white carnations
- Tape
- Scissors
- Vase
- A bucket filled with water


Step 1 - Cut all the stems and place in water
When I got home, I immediately opened the bouquet and one-by-one trimmed all the stems and placed them in a bucket filled with water. I did the same with the separate bunches I got.
Step 2 - Prep your vase
I chose a large vase since I had quiet a bit of flowers. I filled it halfway with water and then made a grid with the tap on the opening of the vase. This allows your stems to stay in place as you are arranging.
Step 3 - Start with your greenery pieces
I always start by placing the greenery pieces first. This allows you to create the shape you want for the arrangement. I wanted kind of a wild shape, so I placed some greenery on the ends that kind of reached out to the sides and also chose to place some in the back.
Step 4 - Place your statement flowers
The roses and the fun purple flowers are the star of the show in this arrangement. I placed them near the front and also along the sides where the greenery was so they could stand out really well.
Step 5 - Fill in with other smaller flowers and greenery
Next, I grabbed the fun greenery with tiny yellow flowers and the greenery with pink flowers and started to fill in some empty spaces. I also used the carnations to sprinkle in some white and fill any holes.
Step 6 - Take a step back to look and fill in any areas
I always take a step back to look at the arrangement from further away. This allows me to see where I may have any holes. I fill those in with more statement flowers or other filler. I also fill out the back or sides with more greenery if I think it's necessary.
VOILA! You have a super cohesive, custom-looking piece! No one will ever know it used to be a pre-made store bouquet! Enjoy the little timelapse below of me putting this bouquet together! 30 minutes shortened to 30 seconds - haha!


