
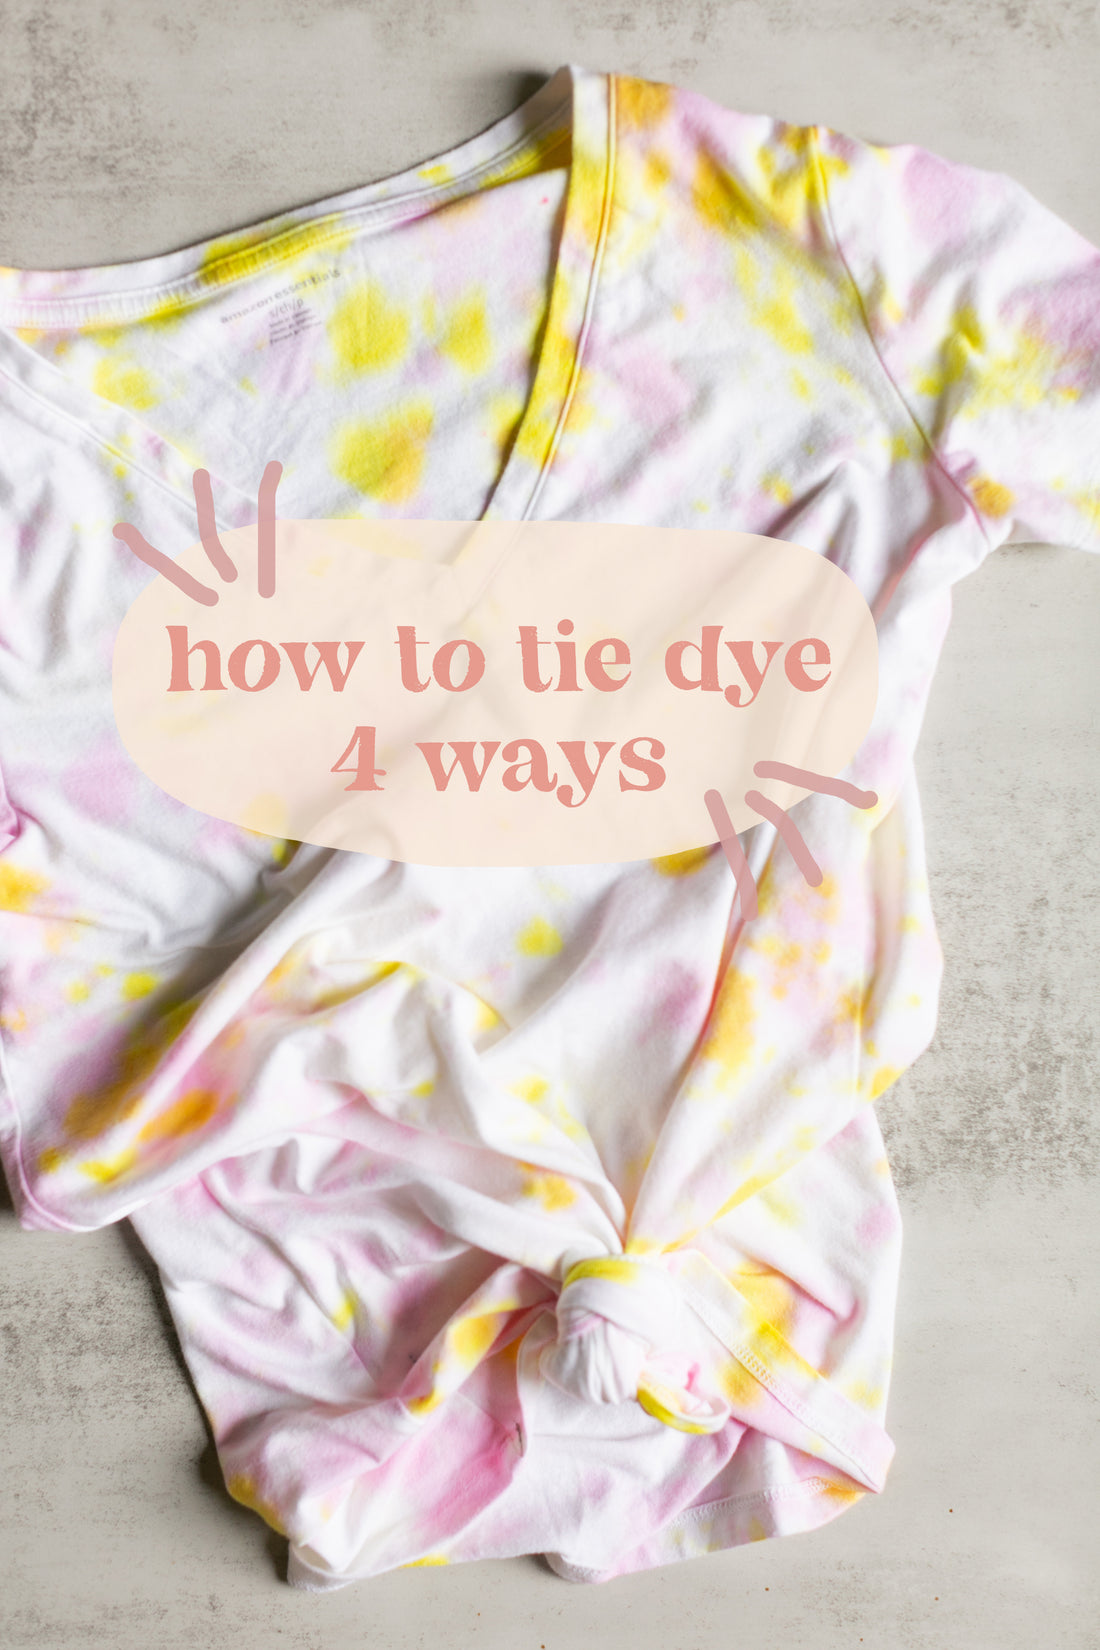
Tie dye is all. the. rage. I knew I wanted to do a blog post about tie dying because it has definitely made a comeback this year. But you guys, when I sat down to plan it out I was like wait, have I ever tie dyed??
My mom reminded me that I did tie dye at one point with some friends but it has been a long time. So I sat down and did a lot of research on different kinds of tie dye folds, how to dilute the dye to create a more pastel color, etc. so that I could bring you a super informative blog post so you can create some super fun pieces.
TIPS BEFORE STARTING
I chose this tie dye kit by Tulip. It has a great variety of dies and it comes with gloves, rubber bands, a drop cloth and some instructions.
I chose to dilute some of my dies by pouring out some of the powder and filling the squeeze bottle with water. This gave me a more pastel pink and you will see that one t-shirt came out very faint which I actually like for a more subtle look. I recommend testing the dye on a paper towel before starting to see what the color will look like.
Before starting, make sure you wash all your pieces. It's best to leave your t-shirts and other pieces damp so the dye can saturate the fabric better.
I decided on 4 different techniques:
- The crumple
- Ombre
- The swirl
- Striped

THE CRUMPLE
This technique is probably the easiest and it's great if you want more of a subtle tie dye. You simply scrunch the t-shirt with your hands until it forms a lumpy mound. Then you take your dye a squeeze bottle and squeeze dye all over the shirt. I chose to flip mine over (while still maintaining the crumple) and squeeze some on the back as well.


The one below is the one where I really diluted the dye. The pattern is very faint but I love the subtle look!

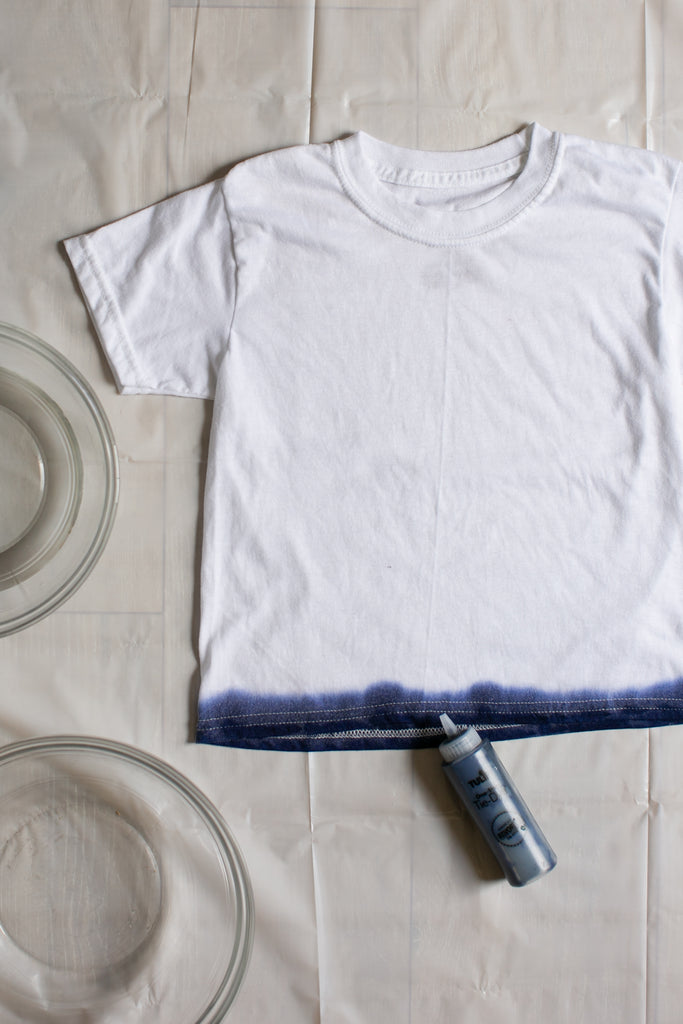
OMBRE
This technique is a bit more involved, but I think it could be my favorite one. You start by squeezing the dye onto the very bottom edge of the shirt. Next, take a brush (I used a sponge brush, but you could use a normal brush as well), dip it in water, and start brushing the dye upwards. I sometimes squeezed a bit more dye along the bottom and continued to brush. As the shirt gets wetter, it's easier to move the dye upward. Continue to dip the brush in water and brush up the shirt until you have the desired look.


THE SWIRL
This technique is one of the more popular ones. It creates a swirl in the middle of the shirt. To do this, place your fingers in the middle of a flat shirt and twist them to the left or right. You will see the swirl start to form. Place rubber bands around the shirt to secure the swirl. Then squeeze your dye in different sections of the shirt.

STRIPED
I was unsure of how I would like this one, but I love how it turned out for Wyatt's shirt! Start out by folding your shirt like an accordion, starting with the long edge. Next, place rubber bands along the shirt to keep everything in place and create where the stripes will go. Next, alternate colors and color each section with dye.


After you have completed your dying, let the shirts sit for 6-8 hours to let the dye set. After they have set, rinse them in the sink and squeeze out any access dye. Then cut off the rubber bands.
Next, you want to wash them each separately on the hottest setting in the washing machine. I washed mine on the express cycle. Dry your shirts, and you're ready to go!
Note: I would wash them separately for a couple of washes!
I hope you find this helpful and have fun creating your own pieces! Make sure you tag us @cflshop so we can see what you create!