
I look forward to advent every single year. I'm not even exaggerating when I say that we have 3 different advents we do at Christmas time. Our oldest son is finally old enough to understand a lot more about Christmas and we have made it a priority to teach him about caring for others and thinking of others above himself.
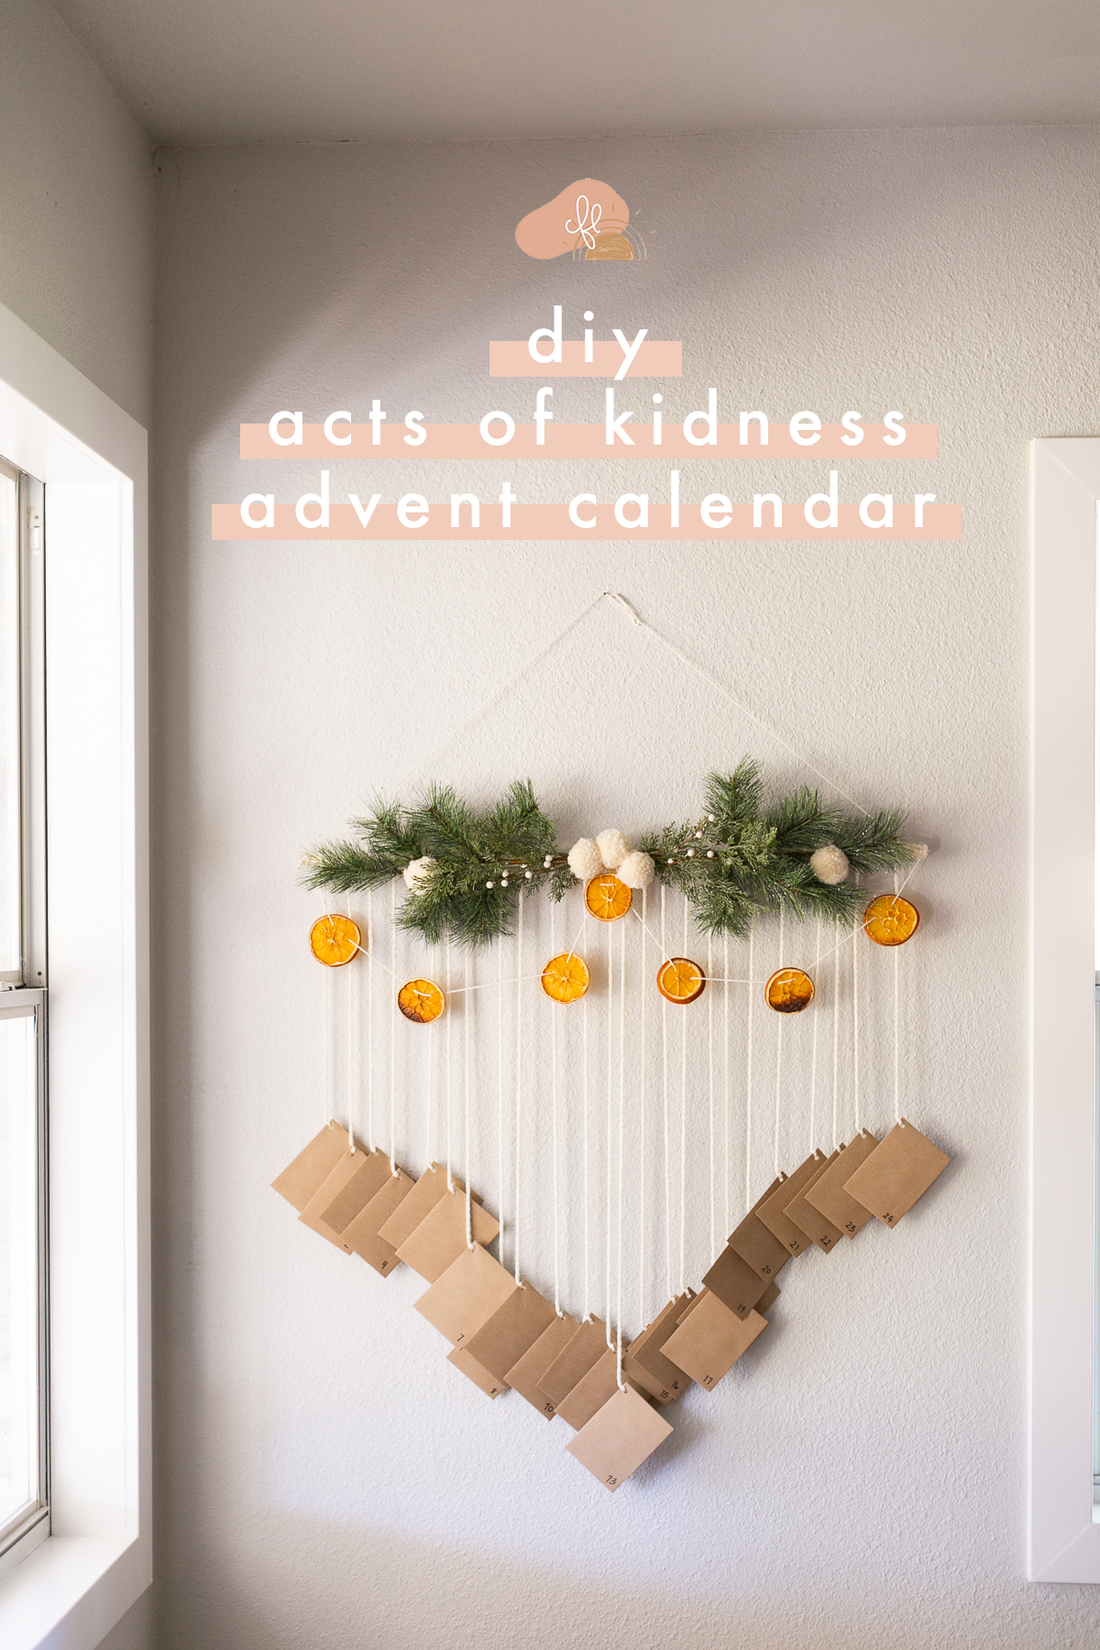
That's where this fun Acts of Kindness advent calendar comes in! It's the perfect way to practice and teach selflessness. It gives us one activity to do a day where we are intentionally setting our minds on others.
I asked for some ideas for acts of kindness on Instagram last week and received some great suggestions! Some of my favorites are making cupcakes for firefighters, gifting a friend a gift card, putting someone's cart away, and donating a toy. I had so much fun putting this together you guys and I hope you and your family enjoy it as much as I know ours will!
You can find the instructions to how I made the advent calendar below and you can find the printable for all the fun activities here!
Materials:
- 36" dowel rod
- yarn (I used white, but use whatever you want!)
- 2 naval oranges (for orange garland)
- faux greenery
- pom pom maker
- glue stick
- 24, 4x6 notecards
- 24 envelopes
- hot glue gun
- hole punch
- Acts of Kindness Advent Calendar Printable!

Instructions:
- Prepare your cards. I chose to glue all of my advent calendar activities onto notecards and place them inside envelopes. You can also just hang them as-is, not use envelopes...the options are endless. If you choose to do envelopes, write a number on the outside for each day (there are 24 days - Christmas is a freebie!). Punch a hole in the corner so you can hang them.
- Wrap your dowel rod (optional). I chose to wrap my dowel rod in yarn to give it a more winter-y look, but feel free to keep it natural too! I stared by putting a dab of hot glue on one end and tightly wrapping the yarn around until i got to the other end where I added another dab of hot glue and finished it off.
- Cut your yarn. You will want 24 pieces of yarn to hang the envelopes. I chose to have mine go from short, to long, to short again (kind of an arrow shape). An easy way to do this is to cut longer pieces of yarn and line them next to each other on the ground. Then cut the bottoms so it makes the pattern you want.
- Tie your yarn. I eyeballed the space between each piece but started by tying the two ends and then the middle. Then I laid the rest of the pieces out in even spacing and tied them off.
- Add your greenery. At this point, it was easier for me to hang the rod on the wall and work from the wall so the yarn was hanging down. I placed my greenery on and tied it with yarn.
- Make & place your poms. I made my pom poms with this pom maker from Michaels. I found the second smallest size to be perfect, but use whatever size you want! I made 5 poms in total and tied 2 of them to the outside, nestled in the greenery, and 3 in the middle.
- Add some dried oranges or other garland. I chose to make a dried orange garland (you can find a tutorial for this here), but you can add any garland you want or none at all!
- Attach your envelopes. The last step is to attach your envelopes to the ends of the string!


