
Have y'all seen the news that our Valentine line is launching on January 23rd? It's gonna be so good and needless to say, we're getting in the Valentine spirit over here. You guys loved the paper heart garland tutorial I shared last year, so I'm coming at ya with another simple but super cute tutorial.
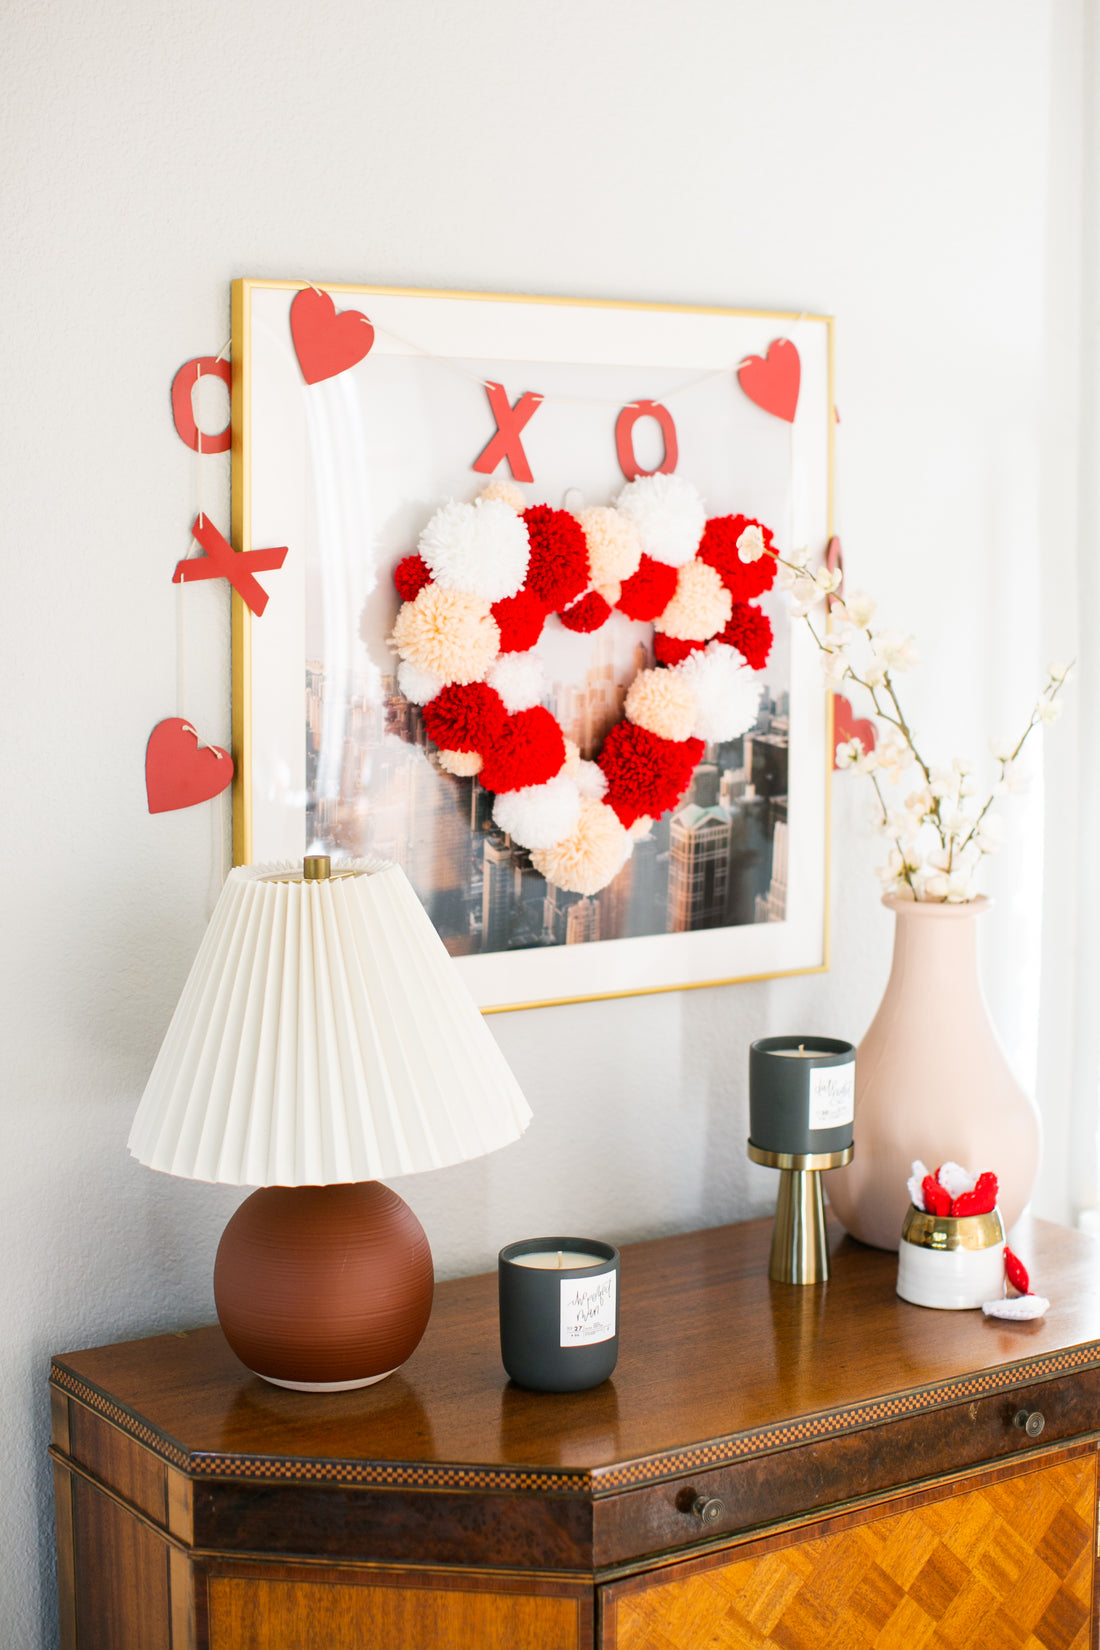
Pom pom wreaths were all the rage this past year for Christmas, so I decided to make a Valentine one. I mean, who doesn't love anything with pom poms on it. If you don't know how easy it is to make a pom pom, buckle up friend. It's so simple with these pom pom makers you can get at Michael's and once you find that out for yourself, you're gonna be pom pom-ing everything.
The most time consuming part of this DIY really is making the pom poms. I turned on a good movie and just made pom poms while watching. Or you can grab a friend and y'all can gab while you make your poms. After they are made, it's really just a matter of gluing them on!
Below you can find the materials and steps! And be sure to check the reel over on our stories (@cflshop)! Happy crafting, friends!

Materials:
- 3 colors of yarn (I chose a blush, white and red)
- 12" wire heart wreath
- Scissors
- Pom Pom makers
- Hot glue gun & hot glue sticks
Step 1 - Make A Whole Bunch of Pom Poms
Pom poms are so simple to make! I use these pom pom makers to make it easy peasy. If you've never made them with these makers before, here is a YouTube video showing you how. I suggest making three different sizes - large, medium, and small. The larger ones cover more space and the small ones make it easy to fill in tiny empty spots. I made about 15 small pom poms, 9 large ones, and 9 medium.
Step 2 - Place Your Large & Medium Pom Poms
I suggest starting with the large ones and then the medium so you can fill in with the small pom poms. Space your large pom poms evenly around your heart wreath. This will create the general base for your wreath. Using a hot glue gun, put glue directly onto the wire wreath and then place the pom pom on top. Repeat this with the medium pom poms, trying to cover as much of the wire wreath as possible.
Step 3 - Fill in With Your Small Pom Poms
Lastly, I placed the small pom poms. These are great for sticking on the pointy details since they are smaller. Simply fill in all the holes that the large and medium pom poms didn't cover. Remember to also lift your wreath off the surface to look at it so you can better see any holes.
You're done!! You can either loop a piece of ribbon around the top to hang or you can use a command hook like I did to hang mine!


